Sunday, August 12, 2012

MMM #72

In case you missed it on Friday I am trying something new.
From now on MMM features will be shown on Friday and instead of being featured along with the link party on Monday. 
You can view Friday's features HERE if you missed them. 
And now onto the party.

 
Guidelines:

1. Please link directly to your post and NOT just to your blog.
2. PLEASE LINK BACK TO DIY HOME SWEET HOME OR GRAB THE MORE THE MERRIER BADGE.
3. Please Follow DIY Home Sweet Home.
4. Please follow me of Facebook (link on the left)
5. Please visit as many links as you want and leave comments.

Don't forget to VOTE for me!!

Visit Top Mommy Blogs To Vote For Me!


Social Spark - Get paid to blog!!
Set Your Price. Choose your Advertisers. Sign up for SocialSpark!

Saturday, August 11, 2012

Giveaway Winner!!

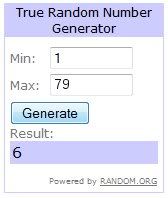
We have a winner via Random.org!!


Congrats Wendy!!
Wendy said "I LOVE the chalkboard labels. I would love to makeover my storage closet with them."

Wendy, please contact me to claim your prize. If I do not receive a reply within 72 hours I will choose another winner.


Don't forget to VOTE for me!!

Visit Top Mommy Blogs To Vote For Me!

This post is sponsored by Social Spark. 

Get paid to blog!!
Set Your Price. Choose your Advertisers. Sign up for SocialSpark!

Friday, August 10, 2012

MMM #71 Features!!

You may have noticed that I have not posted in a couple days.
I really needed to take a short break and just recharge.
I took on some new adventured and started a bagillion other projects over the last month and in the end I wore myself out. I needed some time to recharge and think about what was important.
I have a really bad habit of starting way too many projects at once.
I also have a bad habit of thinking I HAVE to finish every project that I start even if it is not turning out how I want.
Unfortunately trying to finish these projects was stressing me out, not to mention that they were getting in the way of me doing other more important things. As much as I hated to do it, I made a decision NOT to finish these projects. Some will be tossed in the garbage, others will find a new use, and a small few will be tucked away into storage so that maybe in the future when I have time I can finish them. It kills me to toss something that I have spent so much time on but in the end I realized that it would be pointless to spend several more hours on each of these projects when I know they will not turn out.
What about you? Have you ever spent hours on a project even though it was NOT turning out how you envisioned yet you couldn't bare the thought of giving up on it? 

OK, sorry for going on and on but I felt like I owed you an explanation for my absence these past few days.

So now you may be wondering why I am posting Features from MMM today?
Well I feel that most of the people that come link up to MMM are only there to link up their projects and them move onto the next link party without paying much attention (if any at all) to the features.
I figure that if I give the features their own special post then they will receive many more views and get the attention that they deserve.

And finally... without further ado... here are the features from MMM #71


Wordless shared some amazing chevron printables.

I am in love with this cork serving tray from 21 Rosemary Lane.

Who knew a simple shelf could take these photos from ok to amazing. Head on over to The Creative Imperative.

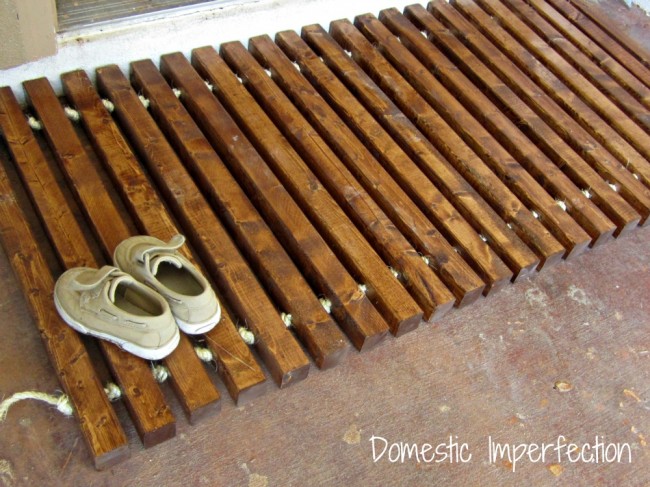
I can't get over how amazing this wooden welcome mat is from Domestic Imperfection.

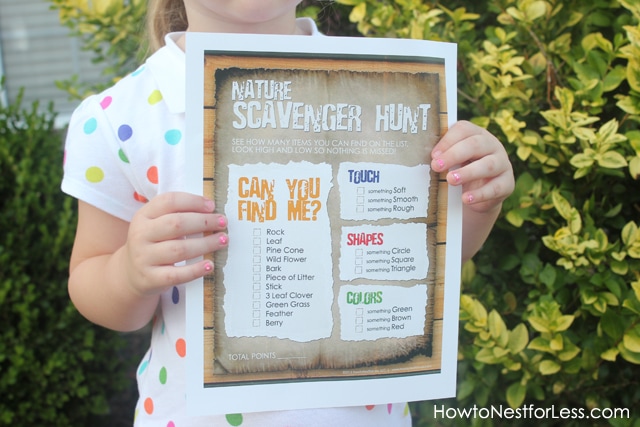
How to Nest For Less came up with this super fun scavenger hunt. What a perfect way to spend those last days of summer with your little ones.

I can't wait to make my own yarn bowl just like this one from Renewed Upon a Dream.

I have never tried a winter melon before but despite the name this drink sounds refreshing and perfect for these hot summer days. Head on over to Food Corner for this winter melon drink recipe.

Can you believe this DIY ladder only cost $6? Osie Moats shares the details.

If you have been featured PLEASE grab a button


Don't forget to VOTE for me!!

Visit Top Mommy Blogs To Vote For Me!

This post is sponsored by Social Spark. 

Social Spark - Get paid to blog!!
Set Your Price. Choose your Advertisers. Sign up for SocialSpark!

Thursday, August 9, 2012

Nectresse Sweetner Product Review {and a free recipe!!}

This is a Sponsored post written by me on behalf of Nectresse™ Sweetener for SocialSpark. All opinions are 100% mine.

I love condemints, sweetners, and just about anything else that I can add to food. I'm the kind of girl that likes a little bit of coffee with her cream and sugar, a steak is not a steak unless it is swimming in A-1 or Hienze 57, and my popcorn has to be smothered in butter and salt.

This year Hubby and I decided that we needed to start eating healthier. We started growing our own fruits and vegtables, cut high fructose corn syrup from our diet and our most recent change involves cutting back on red meat. We are still a work in progress but I can honestly say that I am eating healthier now than I was this time last year. However, I am still having trouble cutting back on the condiments and sweetners. The biggest problem I have is sugar!! My biggest downfall is tea. I drink sweet tea by the gallon during the summer and when winter rolls around I can't get enough chi tea, I tried cutting back on the amount of sugar I used in my tea, I tried replacing the sugar with honey, I even tried stevia. No matter what I tried, it just wasn't the same.

Nectresse product family.jpg

When I was first asked to do a post for nectresse I was not familiar with the product. I did some quick research to see if this was really something that I wanted to add to my diet. When I discovered that it is the only 100% natural sweetener made from fruit, I knew that it was definitly worth looking into. The ingredients used in NECTRESSE™Sweetener can be found on their website. Monk fruit extract, molasses, sugar & erythritol. I was not familiar with was erythritol and it didn't sound to great but after further reading, I learned that it is an all natural sugar alcohol that is naturally fermented and found in many fruits and vegetables.

I also found that NECTRESSE™Sweetener is 150 times sweeter than sugar, and can be used in cooking or baking to a zero calorie per serving sweetness to beverages or a variety of recipes.

NECTRESSE™Sweetener can be found at your local grocery or drug store. It comes in packets (40 packets for $3.99) perfect for keeping in your purse to use on the go, or in a canister (140 servings for $6.99) with a multipurpose lid for sprinkling, pouring or spooning.

Lisa Ling is the spokesperson for NECTRESSE™Sweetener. With a family history of diabetes she has always been cautious about her sugar intake and relied on no calorie sweetners to satisfy her sweet tooth. Watch the video below as she explains her love for the product.

It sounds almost too good to be true. I couldn't wait to get a hold of this product and try it out for myself. The day I recieved the product it was raining and the temp dropped down to 83*. Here in AZ thats pretty darn close to freezing!! So I decided to test out the NECTRESSE™Sweetener in a warm cup of chi tea.

If you have never had traditional chi tea before, you must try it. It is delicious!! To make your own traditional chie tea you will need

  • 1 chi tea tea bag
  • 1/4 cup milk
  • 3/4 cup water

This will make 1 (small) serving. I usually make 4 servings for my husband and I. Put all the ingredients into a small pot and turn it on high. Stir occasionally and keep a very close eye on it because once it starts to boil the milk will cause it to rise and overflow resulting in a huge mess. As soon as it starts to boil remove your pot from the heat and let your tea steep for an aditional 3-5 minutes. After steeping, remove the tea bags, add NECTRESSE™Sweetener to taste, and serve.

It was delicious!! I thought the tea tasted sweeter with the NECTRESSE™Sweetener than it does with normal sugar. My husband, however, said that he could not taste a difference. I am excited to have finally found a product that I love and still tastes great. I can not wait to try baking with it!!NECTRESSE™SweetenerProduct

Would you like to try NECTRESSE™Sweetener for yourself for FREE!!!! Visit www.Nectresse.com/free-sample for your FREE sample of NECTRESSE™Sweetener.

Visit Sponsor's Site

Friday, August 3, 2012

GIVEAWAY - Martha Stewart Home Office with Avery.

{** THIS GIVEAWAY IS CLOSED**}

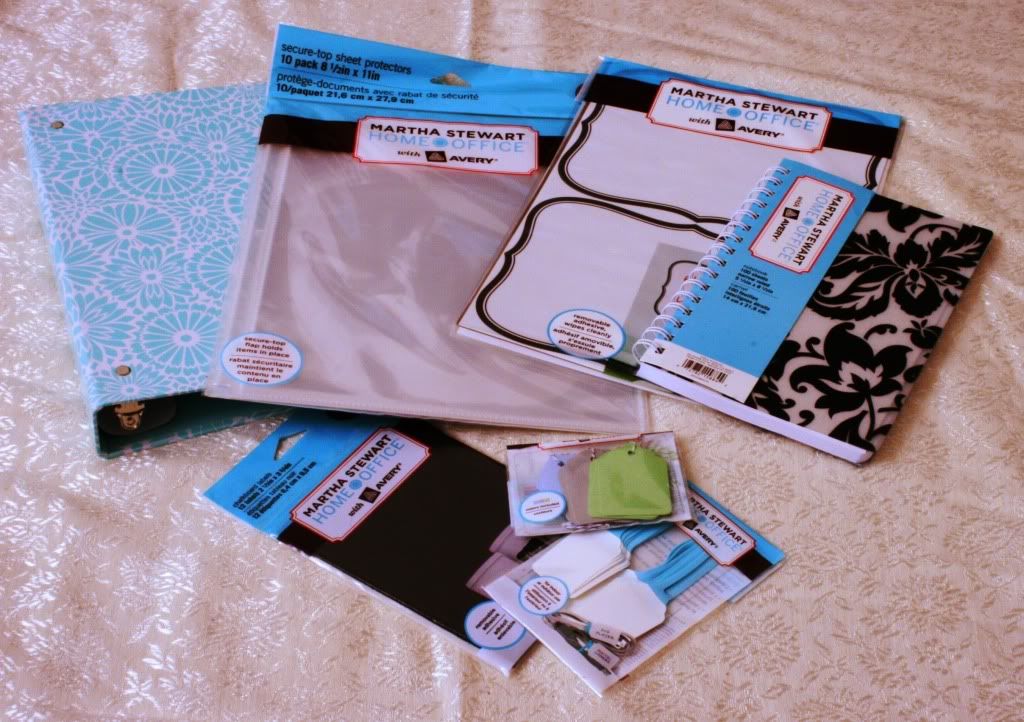
I have been working on organizing my home, career, family and life in general. So you can imagine that I was beyond thrilled when I checked the mail the other day to find a package full of products from Martha Stewart Home Office with Avery.


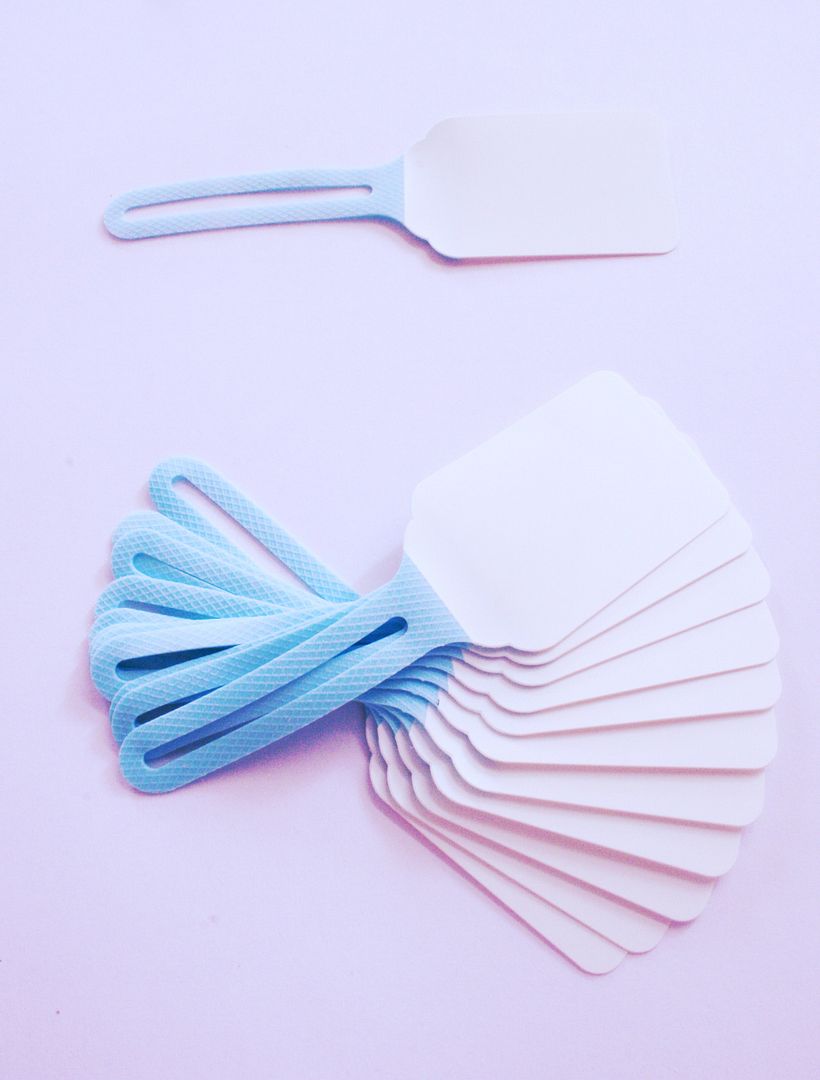
I immediately fell in love with these ElastiNote Tags. The blue strap stretches like a rubber band so you can wrap it around just about anything. These are perfect for wrapping around cords and writing what they go to on the label.

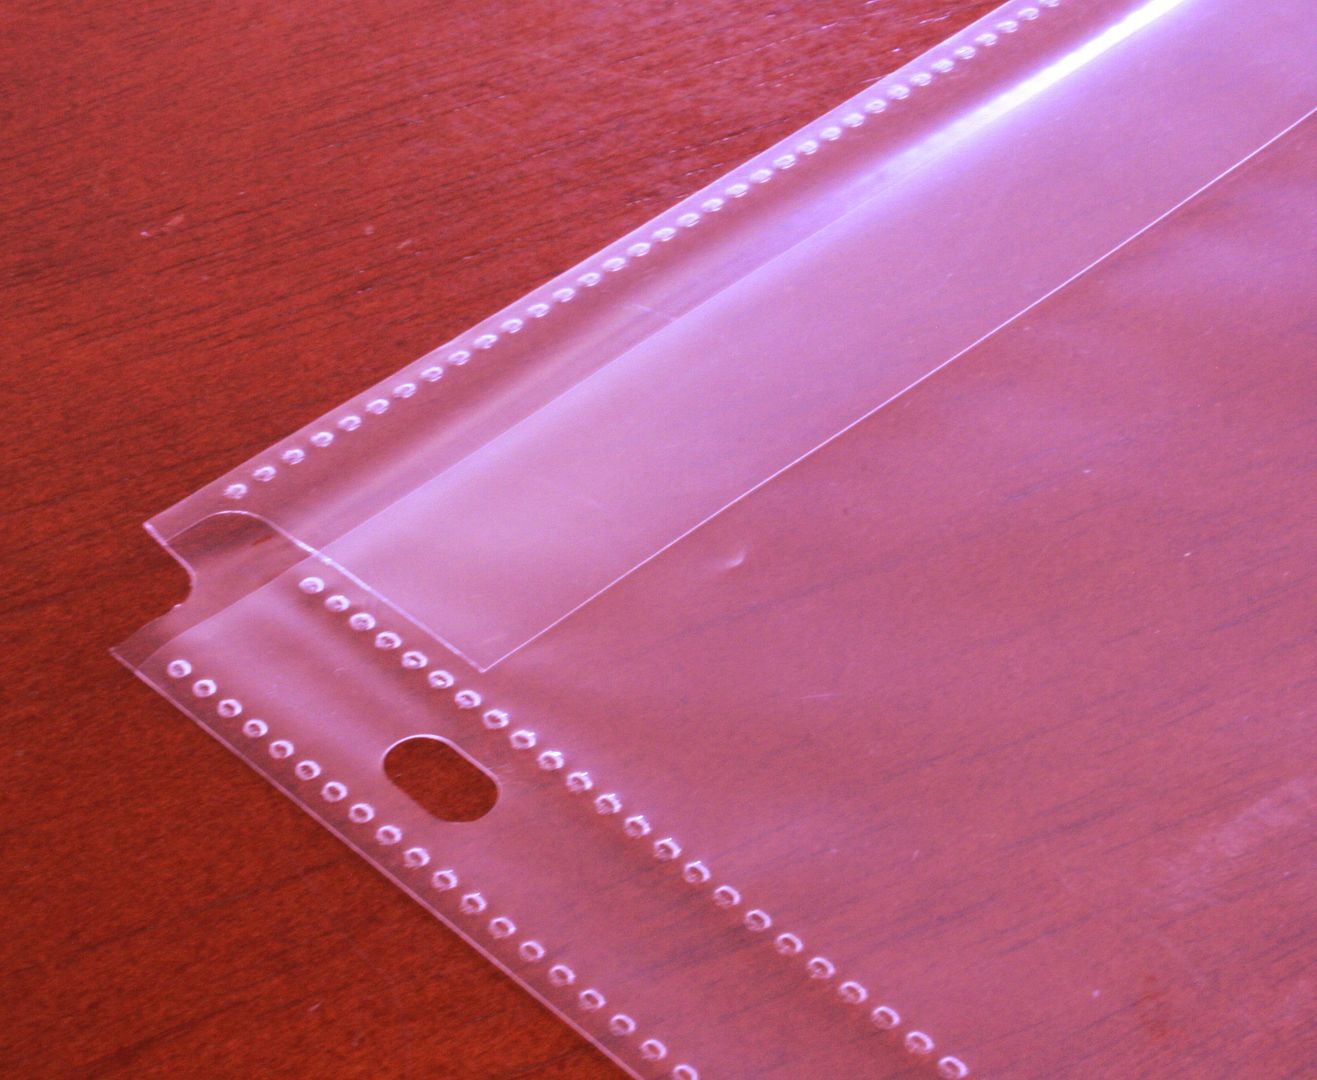
These Secure-Top Sheet Protectors have a flap on top that keeps papers from falling out. That is pure genius!! They are also a lot thicker that the kind I usually buy at walmart so I am sure they will hold up a lot longer.

The Dry Erase Decals are definitely going to be a lifesaver. I have one hanging up on our back door (we use our back door more than our front since it is close to the garage.) to write down any notes that we may need to remember on our way out the door. The second one is hanging on the fridge to jot down a quick note or write a grocery list. They are made with removable adhesive which allows me to switch them up whenever I want to.


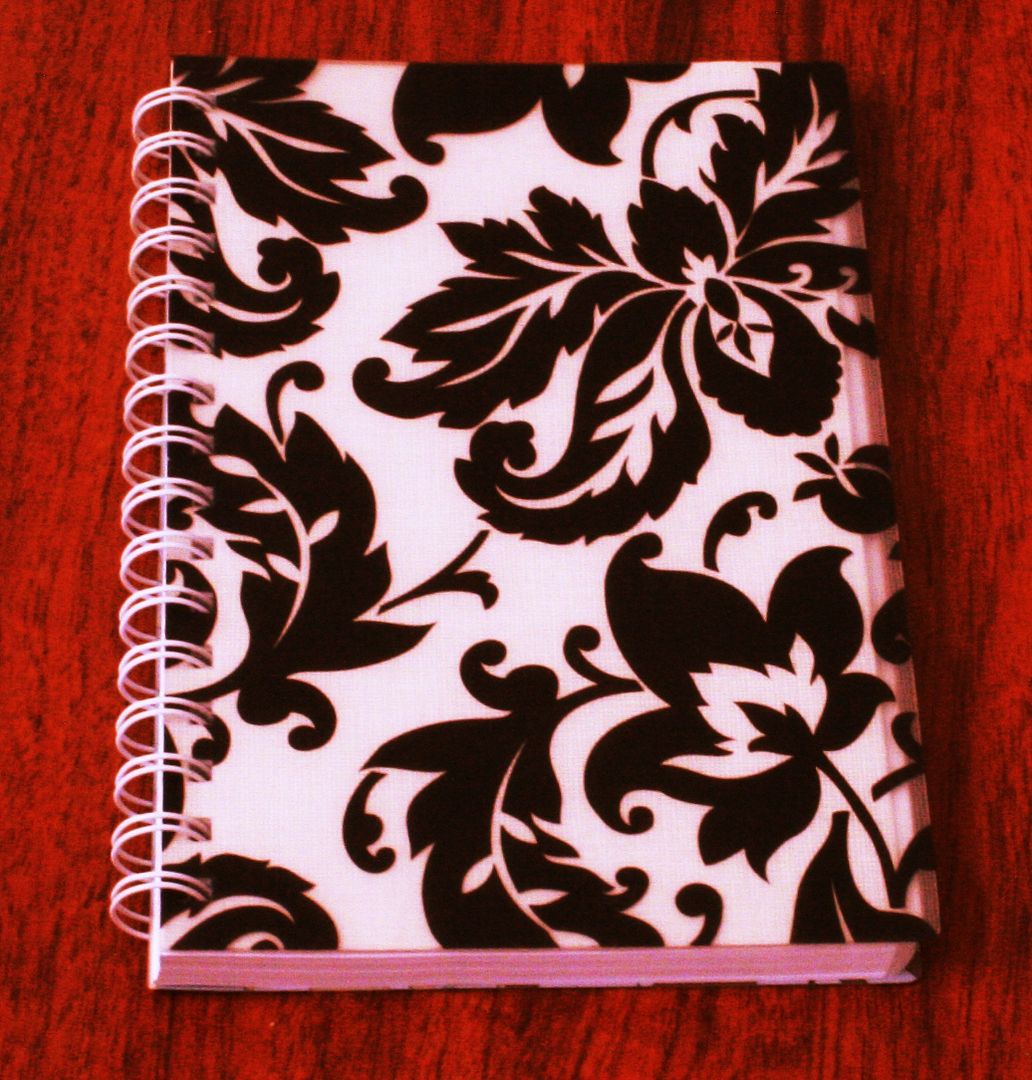
This beautiful notebook is just the thing I have been looking for to keep by my nightstand and jot down all of those crazy ideas that pop into my head late at night when I should be sleeping.


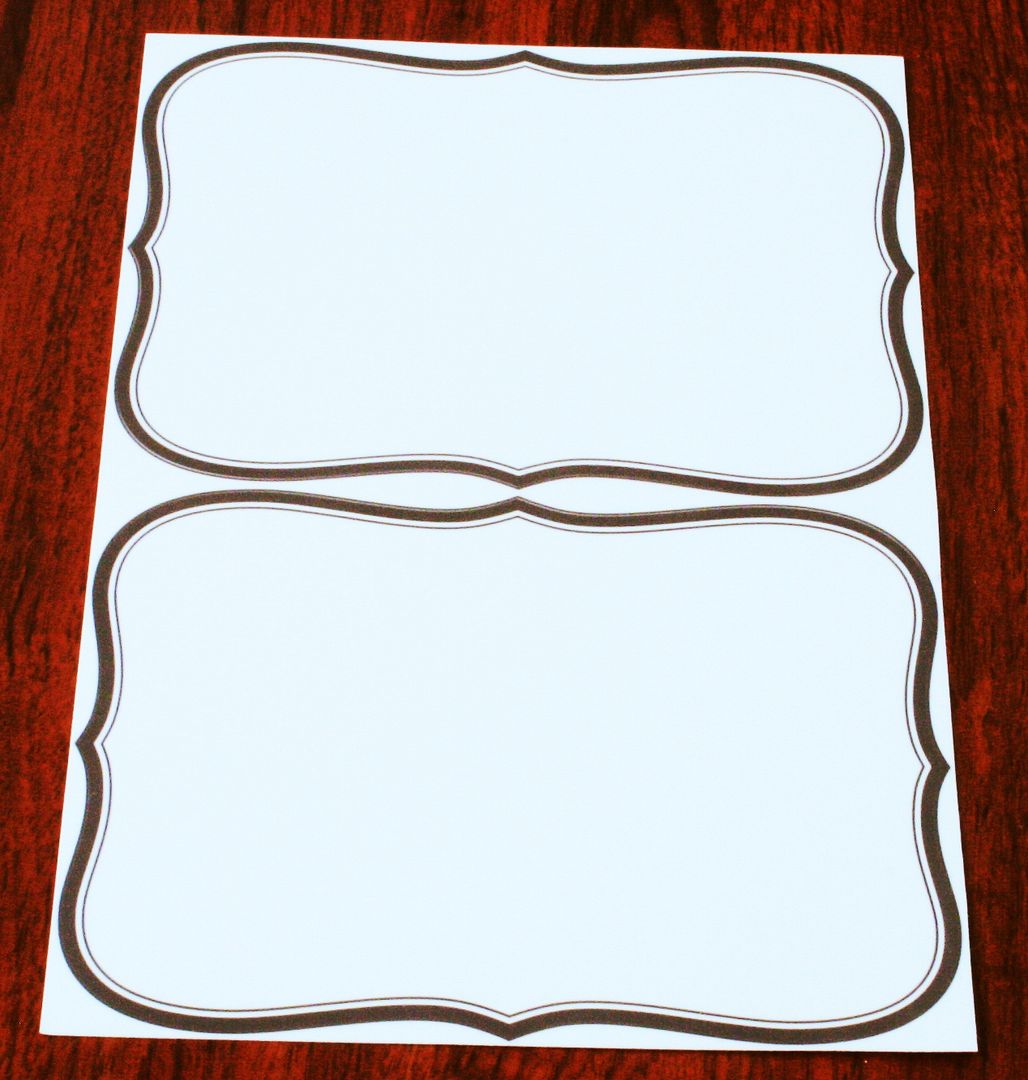
 My favorite product out of this kit is the Chalkboard Labels


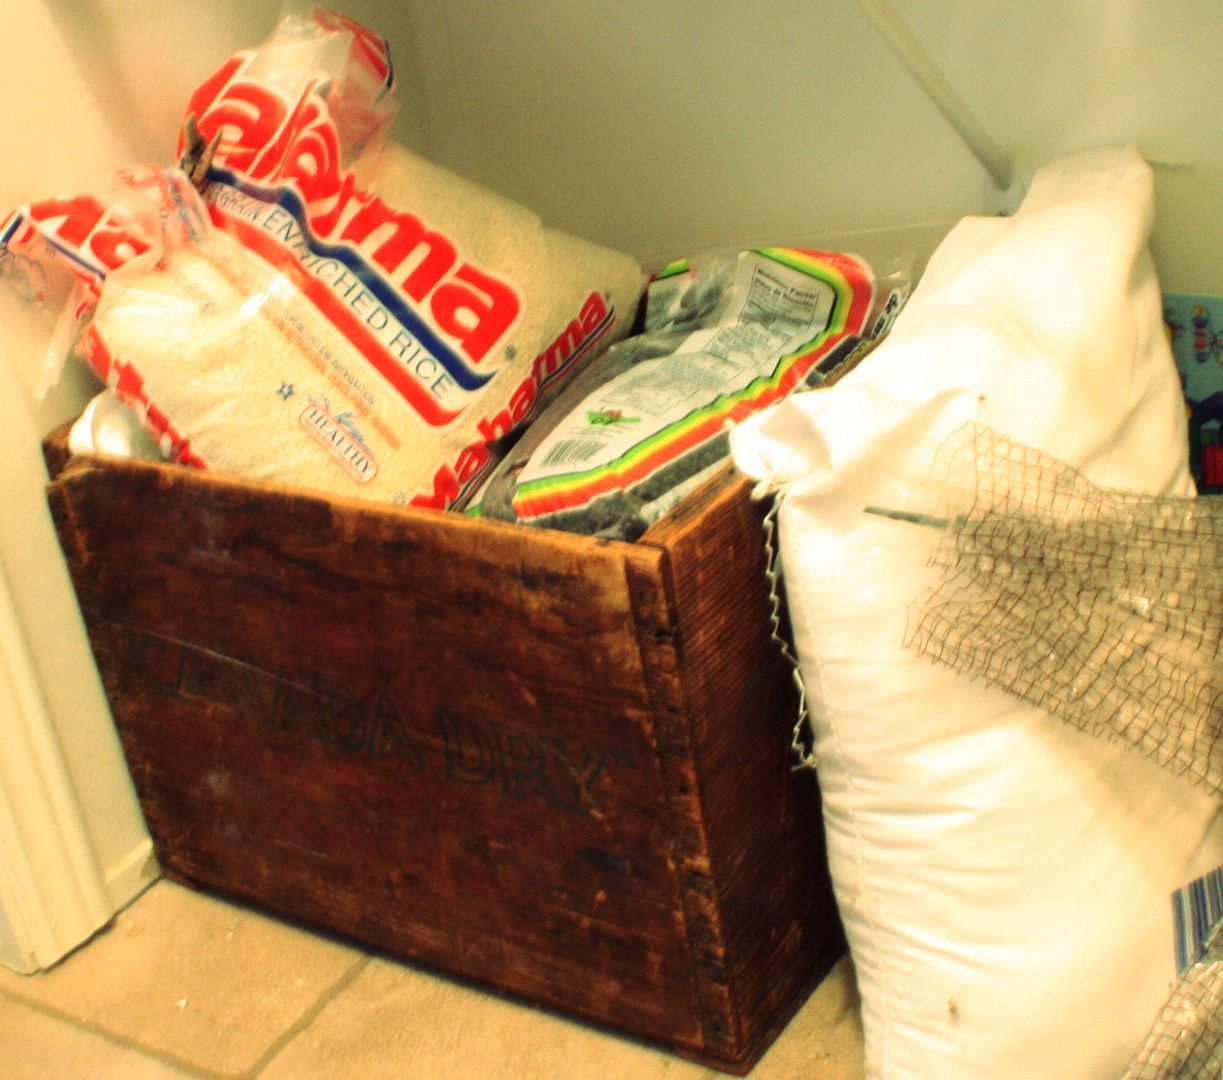
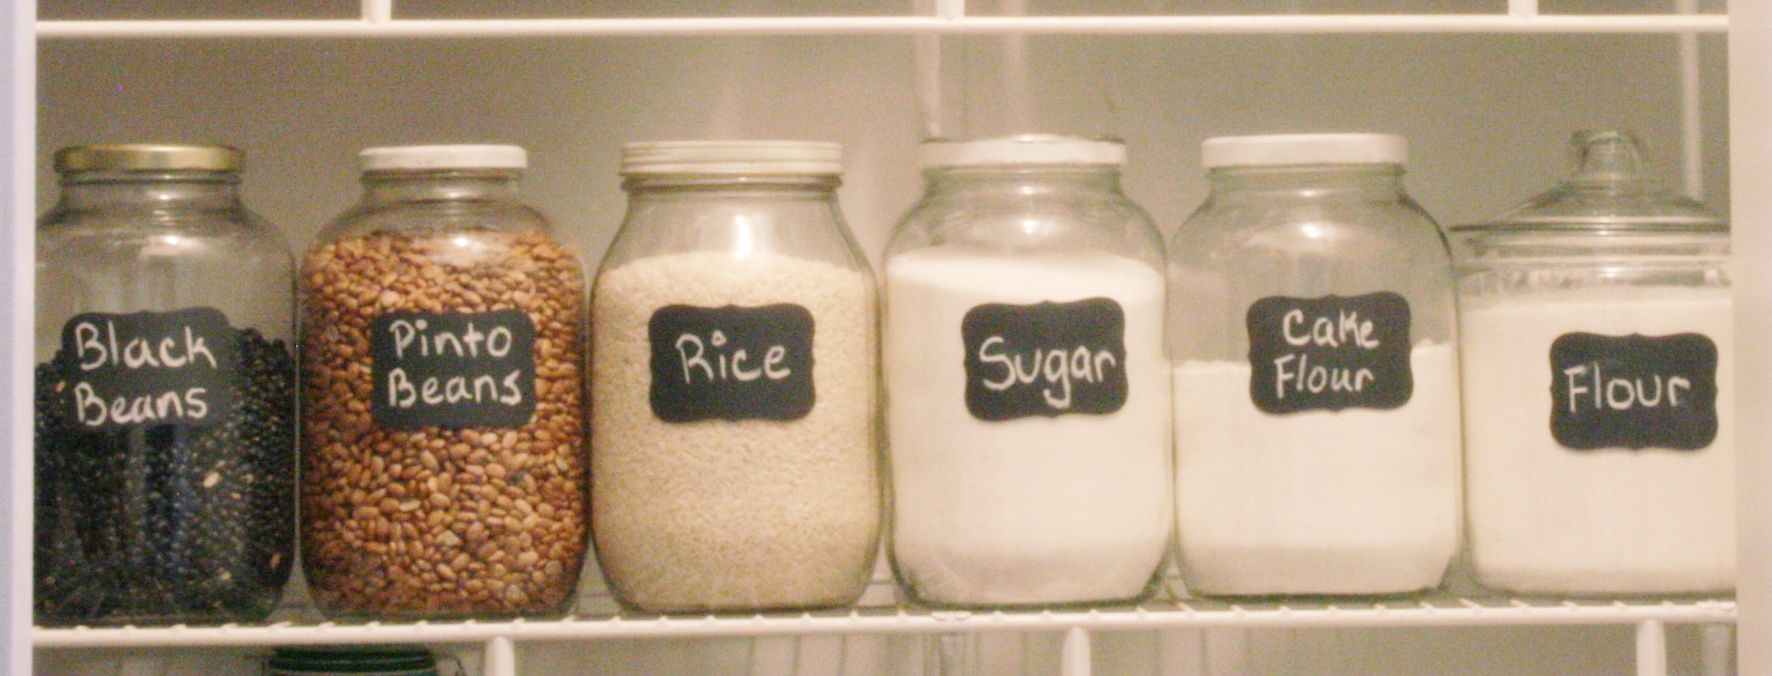
 This box was sitting in the corner of our pantry and contained all of our large bagged items (i.e. beans, rice, flour, ect....) It was overflowing and was a pain trying to lift up heavy bags to get to something on the bottom. I decided to transfer everything into jars. (I have been saving these large jars for some time now for this exact project, I just never got around to it.) After giving each jar a good cleaning, I added the food and applied the labels. 
Doesn't that look so much better?


Would you like some fun labels of your own??
Well, your in luck because I received two of each of these wonderful products and I am giving away the second set!!


One lucky reader will receive:
All you have to do for a chance to win is leave a comment telling me which product is your favorite and how you would use it to organize your life. 
For an extra entry post about this giveaway on your facebook page and leave a link to the post in the comments.
(Please leave a separate comment for each entry)

Thursday, August 2, 2012

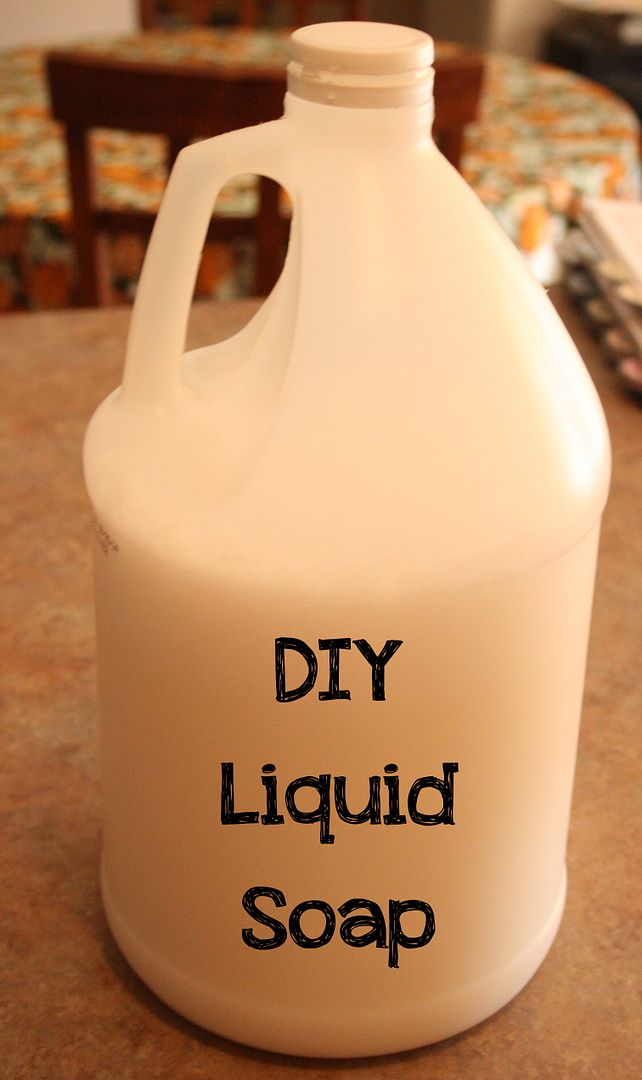
Make Your Own Liquid Soap

My daughter has skin allergies and most soaps cause her to break out.
We have been using Dr Bronner's soap for about a year now and her breakouts have reduced dramatically. However, this stuff is not cheap!! I have only found it at two local stores. One charges $9 while the other charges $11 for a 16 oz bottle.
I recently found some Dr. Bronner's bar soap for $4 a bar that I was able to turn into a gallon of liquid soap.


You will need:
Bar of soap
2 T. glycerin (I found ours in walmart next to the band aids)
1 gallon water or more (explained below)
Essential Oil (optional)

First you will need to grate the entire bar of soap with a cheese grater.
In a large pan mix together half of your water, 2 T. glycerin, and your grated bar of soap.
Heat up your mixture and stir constantly until all of the soap is dissolved.
Once the soap is dissolved, remove from heat and let sit for 6 to 8 hours (or overnight if you wish).
After letting the mixture sit you will notice it turn into a big glob of goo.
Add some more water to your mixture. Continue to stir and add water until your reach the right consistency. If your soap is too thick you may need to heat it up a bit before adding more water.

Note: 
Most of the recipes I found for liquid soap have you adding the entire gallon of water to the pot right off the bat. After reading comments and realizing that there were so many varied results (some was too watery while other was too thick) I decided that this must be due to the brand of soap used. I ended up using the entire gallon for mine and it was the perfect consistency however I recommend that you start half a gallon and then add more to it later.


Don't forget to VOTE for me!!
Visit Top Mommy Blogs To Vote For Me!
This post is sponsored by Social Spark. 
Get paid to blog!!
Set Your Price. Choose your Advertisers. Sign up for SocialSpark!

Wednesday, August 1, 2012

Art Station

Up until now, I have had art supplies scattered all over the house.
Paints and brushes were kept in the hall closet, crayons in the kids room, markers and colored pencils at my desk. I decided that I wanted a place where I could keep all of these items in one place that was easy enough for the kids to get to on their own.
Here is what I came up with.


All of the pencils, markers and crayons are kept at the bottom and both girls can easily reach them.
The paint in on the third tier which is high enough that my two year old can not reach them without assistance. (My four year old can reach them but she knows that she must ask before getting them down.)
In the top bin I keep a bunch of clothes pins. I have a wire strung across a wall in the girls room. We use the clothes pins to display their creations up on the wire. It is so easy to change out the artwork and saves space on our refrigerator.
Our art station sits on top of  some sterilite drawers that are full of construction paper, regular computer paper, and lined paper.

I am so happy with this set up. Now the girls are able to color without having to wait for me to get out the supplies and even though the messier supplies (paint and glue) are located in the same area. I don't have to worry about the kids getting into them and making a huge mess.


Don't forget to VOTE for me!!


Visit Top Mommy Blogs To Vote For Me!
This post is sponsored by Social Spark. 
Get paid to blog!!
Set Your Price. Choose your Advertisers. Sign up for SocialSpark!